Feeling Pretty and Natural with Sheer Cover Studio Review #FlawlessFinish
You all know by now just how much I love playing with makeup and seeing what kind of looks I can achieve with new things and new ways to apply it all. Which is why I was pretty excited (when am I not?) to get approved to try out the Sheer Cover Studio line.
When I received the package I was a little shocked with just how much was in it. I didn’t realize just how much I was going to be getting to review and honestly was a bit overwhelmed with it, so it sat on my dining room table meaning to try out, but not feeling up to it. Then I get an email stating it was now time to get my review in and I was thought – Oh CRAP…and here I haven’t even touched the stuff yet. Ack!
I had so much fun though once I sat down to try out all the fun products included in my kit. I loved that it came with a guide through each step, what to use and how. It made it much less overwhelming for me and was so easy to follow.
I’ll take you step-by-step with me on how to apply the Sheer Cover Studio line and you’ll find just how easy and amazing it is.
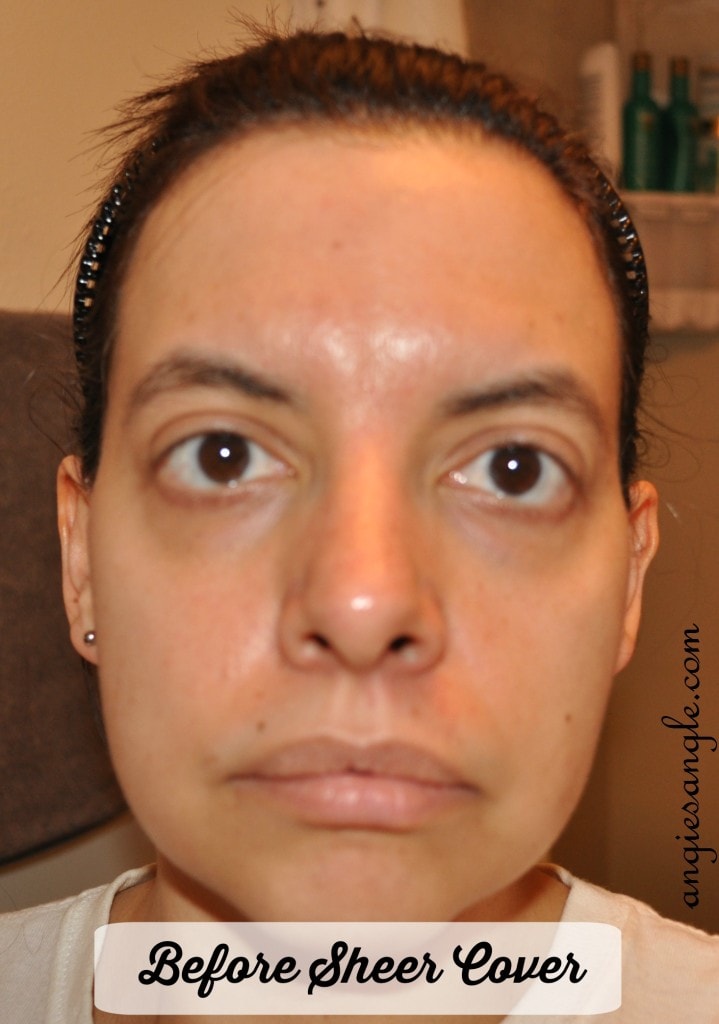
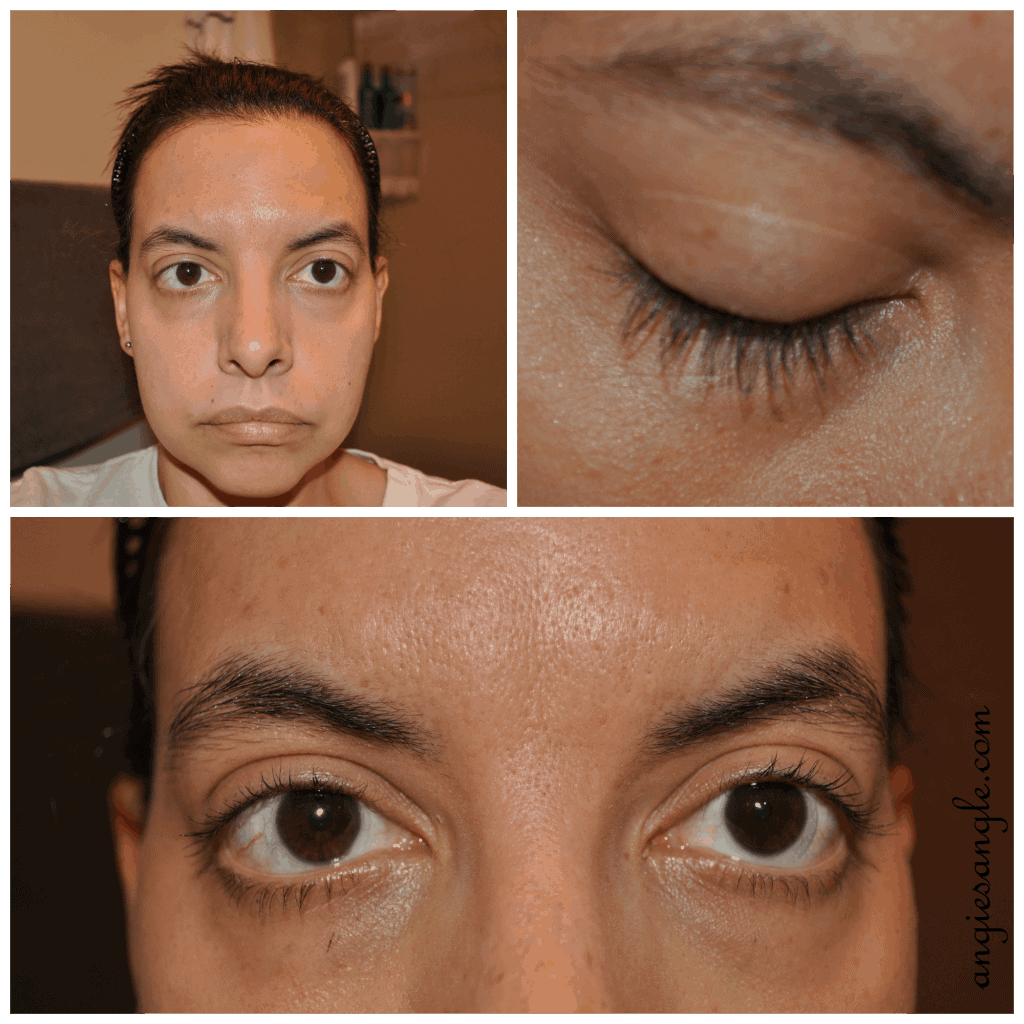
First, here is me with a freshly cleaned face before starting to apply Sheer Cover Studio.
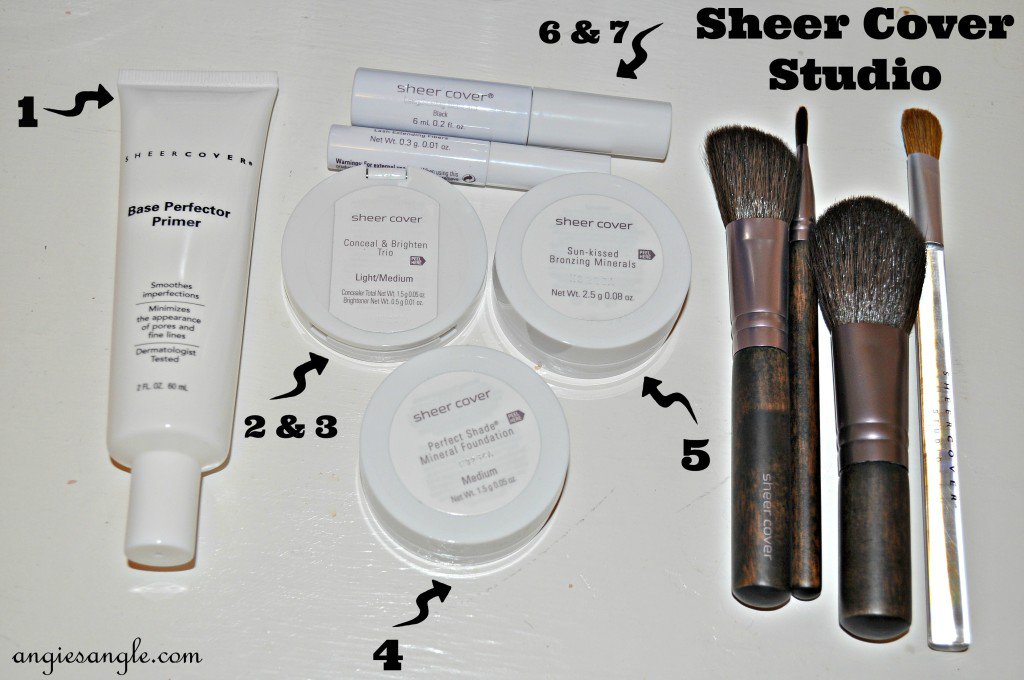
The products laid out ready for me to use, with numbers to indicate when to use them. I also received a set of brushes to apply and to use for other make-up needs.
1 Base Perfecter Primer
While this isn’t listed as a step in the handy book that came along with my kit, primer is always the first step, after applying your favorite moisturizer that is. It helps soothe out wrinkles and other imperfections while it soothes with protective antioxidants like vitamin E and green tea.
It felt super silky in my hand and as I was rubbing it on my face. I swear you could probably get away with just using the primer itself on some days where you just want a bit of coverage.
2 & 3 Conceal & Brighten Trio
You first apply the concealer as needed to cover up blemishes, scars, dark circles, rosacea, hyperpigmentation, birthmarks, spider veins, tattoos and more. You can mix the two shades as needed to find your perfect match. The creamy formula nourishes and hydrates the skin with antioxidant vitamins C and E.
I used the concealer on various parts of my face and a bit under my eye. It seemed to blend very well and hide what I wanted, especially the veins on the sides of my nose.
After applying the concealer you apply the white brightener under the brow bones and at the inner and outer corner of each eye, blending well. I had never used a brightener before, but liked the effect it made after applying it. It says to get creative while using the brightener, suggesting you could apply to the top of your cheekbones or along the base of your nose for the extra-special glow.
What a neat product!
4 Perfect Shade Mineral Foundation
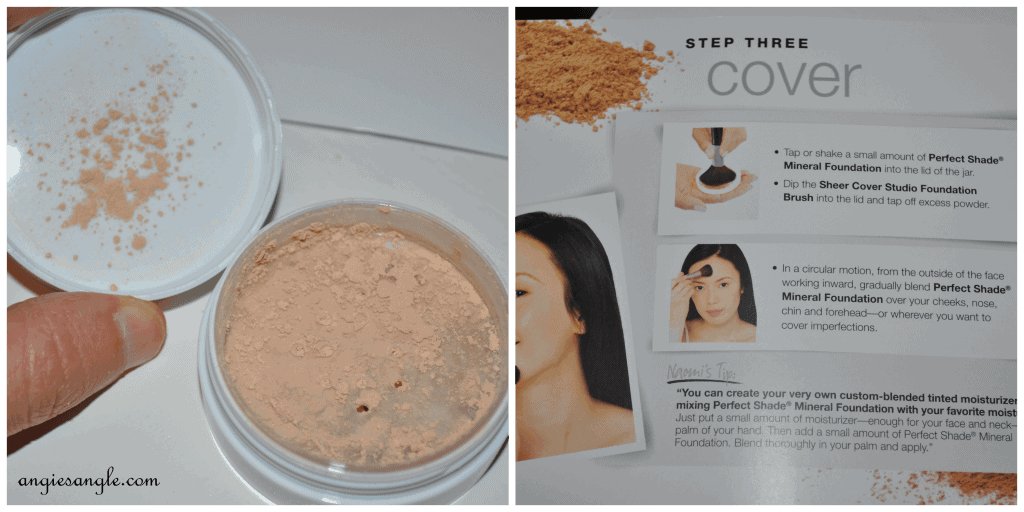
I was probably most impressed by the Mineral Foundation. It blended so well and made my face feel so soft while making me have an even tone in my skin. It helps correct unflattering yellow and pink undertones, while anti-aging green tea c offer nourishing benefits and calming zinc.
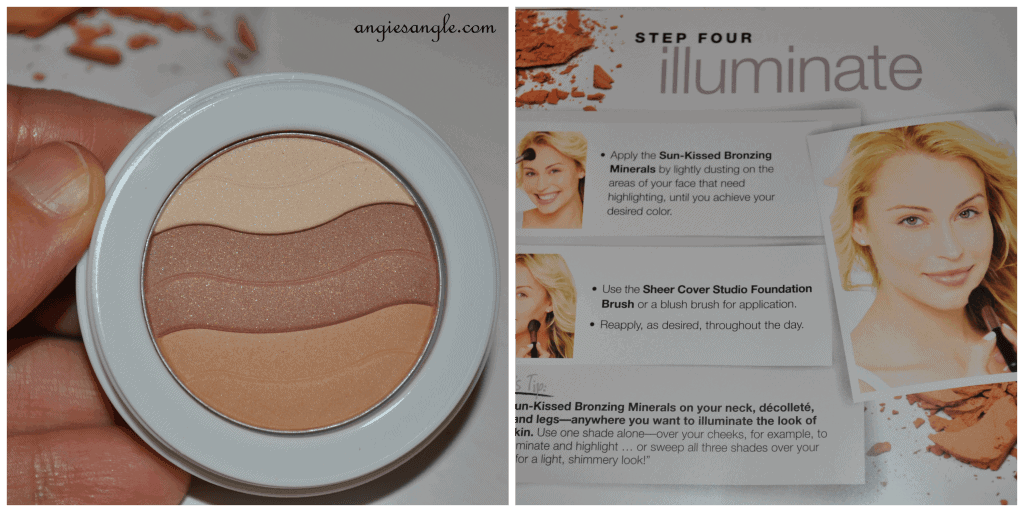
5 Sun-Kissed Bronzing Minerals
Not something I normally use again, so was once again very thankful for the little book that came along with my kit. I didn’t notice a huge difference when using this though and probably won’t use it often.
It is meant to highlight your face, weather you use it on your cheekbones or all over. Anywhere the sun might hit you and you want to kind of shimmer. Play with it to see if you like all three shades together or just a single one to fit your needs and wants.
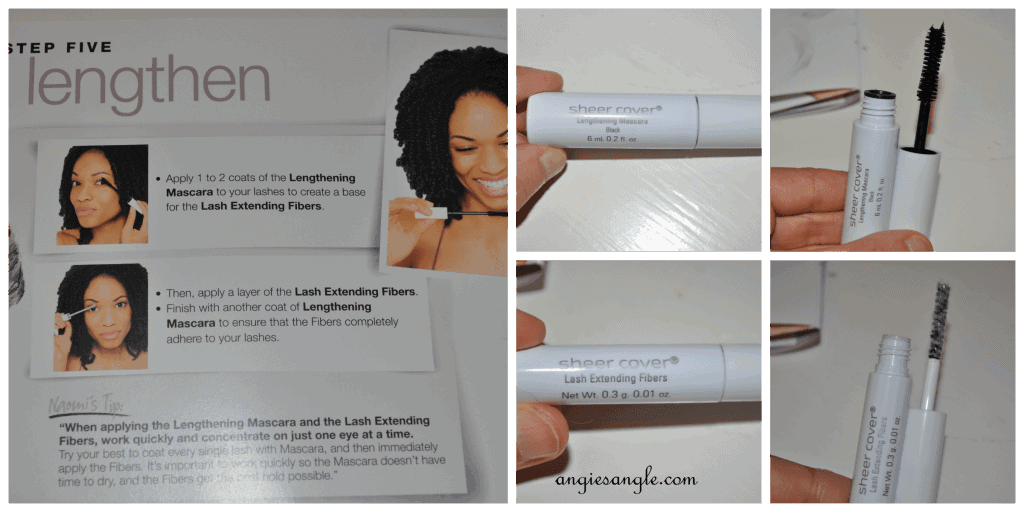
6 & 7 Lengthening Mascara Plus Lash Extending Fibers
The last and final step was the most fun for me. I didn’t read the full directions the first time and so applied the mascara to both set of eyes and then read oh wait it tells you to do one eye at a time and apply the fibers when your mascara is still wet and then apply another coat over that to enhance your lashes. Enhance did they ever. Love!
It also condition your lashes from root to tip while it lengthens and thickens!
I loved this line though and was so impressed with it all, but especially the Mineral Foundation and the Mascara with the Fibers.
My final look you can see below. Full face look and the amazing eye lashes!
Have you tried any Sheer Cover Studio line of products before? What did you think? Are you wanting to try some if you haven’t now that I told you all about it?
Don’t forget to visit Modern Mom to win a year’s supply of Sheer Cover Studio. I know I am going to go enter and hope to win!
I received the full line of Sheer Cover Studio to provide my opinion on from Modern Mom & Sheer Cover.




I love mineral makeup it gives coverage but doesn’t even feel like you have makeup on. You got a lot of great products. The mascara looks like it gives your lashes some good length to them.
I don’t think the photos I took did justice to the difference I saw with my lashes. At least I am getting better about taking close up of my eyes, I think I learned the trick to it. Though I still need/want a macro lens.